Organza is a beautiful yet delicate sheer fabric often used in wedding dresses, evening gowns, decorative overlays, and formal garments. While it looks elegant, many beginners find sewing organza challenging because the fabric is thin, slippery, and prone to fraying.
This beginner-friendly guide explains how to sew organza fabric successfully, including the right tools, stitching methods, and practical tips to achieve professional results.
Understanding Organza Fabric Before Sewing
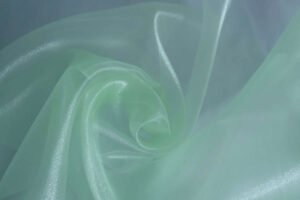
Before sewing organza, it helps to understand its characteristics.
Key properties of organza
-
lightweight and sheer
-
crisp texture
-
slightly stiff structure
-
prone to fraying at edges
Because of these traits, organza requires extra care during cutting, stitching, and pressing.
Tools You Need for Sewing Organza
Using the correct tools makes a huge difference when working with delicate fabrics.
Recommended sewing supplies
-
Sharp microtex needle (size 60/8 or 70/10)
-
Fine thread (polyester or silk)
-
Very sharp fabric scissors or rotary cutter
-
Fine pins or silk pins
-
Lightweight interfacing (if needed)
A microtex needle is especially important because it creates clean holes without damaging the delicate weave.
How to Cut Organza Properly
How to Cut Organza
Cutting organza correctly prevents uneven edges and distortion.
Cutting tips
-
Use a rotary cutter or very sharp scissors
-
Cut on a flat cutting mat
-
Place tissue paper under the fabric to prevent slipping
-
Use pattern weights instead of pins when possible
Because organza is slippery, cutting slowly and carefully is essential.
Best Stitches for Organza Fabric
Choosing the correct stitch settings will improve both strength and appearance.
Recommended stitch settings
-
stitch length: 2.0 – 2.5 mm
-
straight stitch works best
-
reduce thread tension slightly if puckering occurs
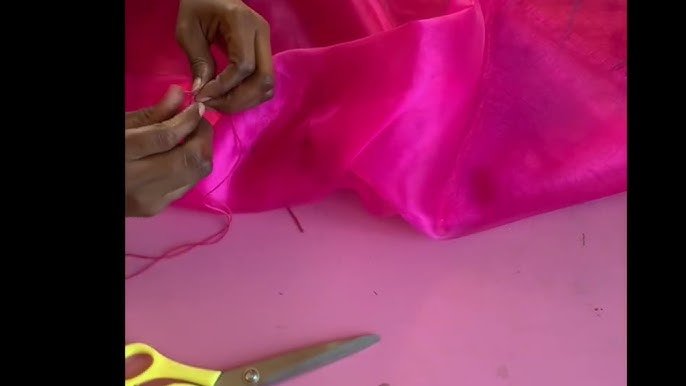
For delicate garments, many professionals use French seams, which hide raw edges and prevent fraying.
Best Seam Techniques for Organza
1. French seams (most recommended)
French seams completely enclose the raw edges, making them ideal for sheer fabrics.
Steps:
-
Sew the fabric wrong sides together
-
Trim the seam allowance
-
Turn fabric right sides together
-
Sew again to enclose the seam
This produces clean and elegant seams perfect for transparent fabrics.
2. Narrow rolled hem
A rolled hem is commonly used for organza skirts, veils, and scarves.
Benefits:
-
lightweight finish
-
minimal bulk
-
professional appearance
Many sewing machines include a rolled hem foot that makes this technique easier.
How to Press Organza Safely
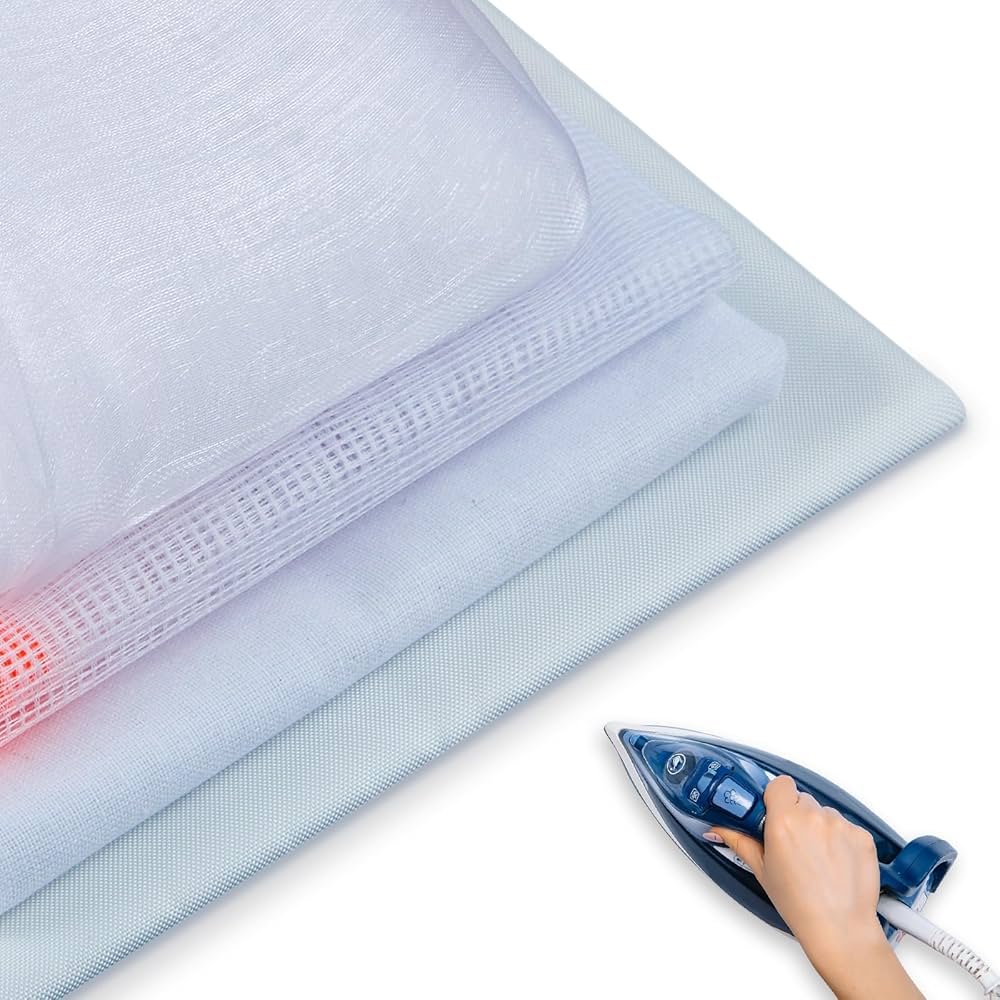
How to Press Organza
Organza can melt or scorch easily, especially synthetic varieties.
Pressing tips
-
use low heat
-
place a pressing cloth between the iron and fabric
-
avoid steam on polyester organza
-
press gently without dragging the iron
Always test heat settings on scrap fabric first.

sewing organza
Common Mistakes When Sewing Organza
Beginners often struggle with a few common issues.
Avoid these mistakes
-
using dull needles
-
stitching with large stitch lengths
-
pulling the fabric while sewing
-
skipping edge finishing
Taking your time and using the right techniques will greatly improve your results.
Beginner Projects for Organza
If you're new to sewing organza, start with simple projects such as:
-
decorative hair bows
-
sheer scarves
-
gift wrapping ribbons
-
lightweight overlays for skirts
These small projects help you practice working with sheer fabric before attempting more complex garments.
Final Thoughts
Sewing organza may seem intimidating at first, but with the right tools and techniques, it becomes much easier to manage.
Remember these key tips:
-
use a microtex needle and fine thread
-
cut carefully to prevent slipping
-
choose French seams or rolled hems
-
press with low heat and a pressing cloth
With patience and practice, even beginners can create beautiful garments and decorative pieces using organza fabric.


