The LeMoyne Star is an eight-pointed star made of 45-degree diamonds. Unlike simpler stars (like the Sawtooth Star), the LeMoyne Star requires you to 'set in' background squares and triangles into the star’s corners. This creates a Y-seam—a junction where three seams meet at a single point without overlapping.
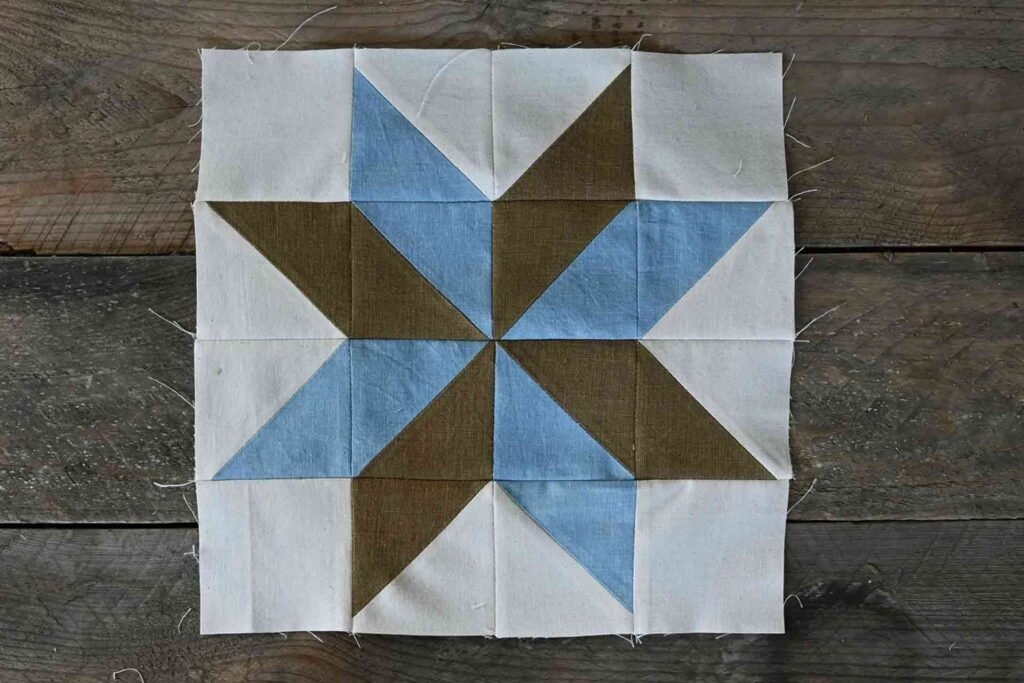
lemoyne star quilting
If you’ve struggled with puckers or holes at your intersections, these advanced techniques will change your quilting game.
1. The Anatomy of a Y-Seam
A Y-seam occurs when you must sew a piece into a 90-degree or 135-degree 'crotch' formed by two other pieces. The secret is that you never sew all the way to the edge of the fabric.
-
The 1/4' Dot Rule: On the wrong side of every fabric piece (diamonds, squares, and triangles), mark a small dot exactly $1/4$ inch from the corners where the seams will meet.
-
The 'Mark-to-Mark' Method: You only sew from dot to dot. By leaving that $1/4$ inch of fabric loose at the ends, you allow the fabric to pivot and fold out of the way for the next seam.
2. Step-by-Step: Sewing the LeMoyne Star
To build a perfect star, follow this specific assembly order to keep your quilting skills sharp:
-
Join the Diamonds: Sew your eight diamonds into four pairs. Stop sewing exactly $1/4$ inch from the center point of the star.
-
Insert the Background Square:
-
Place a background square right-sides together with one side of a diamond pair.
-
Start at the outer edge and sew toward the center, stopping exactly at the dot you marked (the intersection). Backstitch to lock it.
-
Pivot the square to align with the second diamond in the pair. Move the first diamond out of the way (it will fold easily because you stopped at the dot).
-
Sew from the dot out to the edge.
-
-
The Final Junction: Repeat this for the triangles between the star points. When you join the two halves of the star, all those $1/4$ inch 'gaps' will converge perfectly in the center.
3. Pro Tips for Precision
-
Stabilize the Bias: Because diamonds are cut on the bias (the diagonal), they stretch easily. Use a shot of spray starch before cutting to give the fabric a 'paper-like' stiffness.
-
Use a Fine Thread: Use a 50-weight or 60-weight cotton thread. Thicker threads take up too much space in the seam allowance, which can cause the center of your star to 'volcano' (pop up) rather than lie flat.
-
Backstitching is Vital: Since you aren't sewing off the edge of the fabric, your seams aren't 'locked' by a cross-seam. You must backstitch 2–3 stitches at every dot to prevent the star from pulling apart.
4. Modern Shortcuts: Is There an Easier Way?
If traditional Y-seams still feel too daunting, modern quilting skills offer two popular workarounds:
-
The 'Half-Square Triangle' (HST) Method: Some modern patterns break the diamonds into smaller triangles to avoid Y-seams entirely. It’s faster but results in more seams and more bulk.
-
The 'Rapid Fire' Tool: Rulers like the Deb Tucker Rapid Fire LeMoyne Star allow you to strip-piece the star and trim it down, eliminating Y-seams through clever construction.
5. Summary: Precision Checklist
| Step | Action | Why? |
| Marking | Draw dots $1/4'$ from corners | To know exactly where to start/stop. |
| Stitching | Backstitch at every intersection | To prevent seams from unravelling. |
| Pressing | 'Twirl' or 'Spin' the center seams | To reduce bulk and keep the star flat. |
| Handling | Minimal 'tugging' | To avoid stretching the bias edges. |
Master the Challenge
Conquering the LeMoyne Star is a rite of passage. Once you master the Y-seam, you can sew almost anything—from Hexagons to Thousand Pyramids. Take it slow, trust your dots, and watch your stars shine.
Feeling brave? Contact US for our Advanced Star Pattern Collection and put your new Y-seam skills to the test!


